

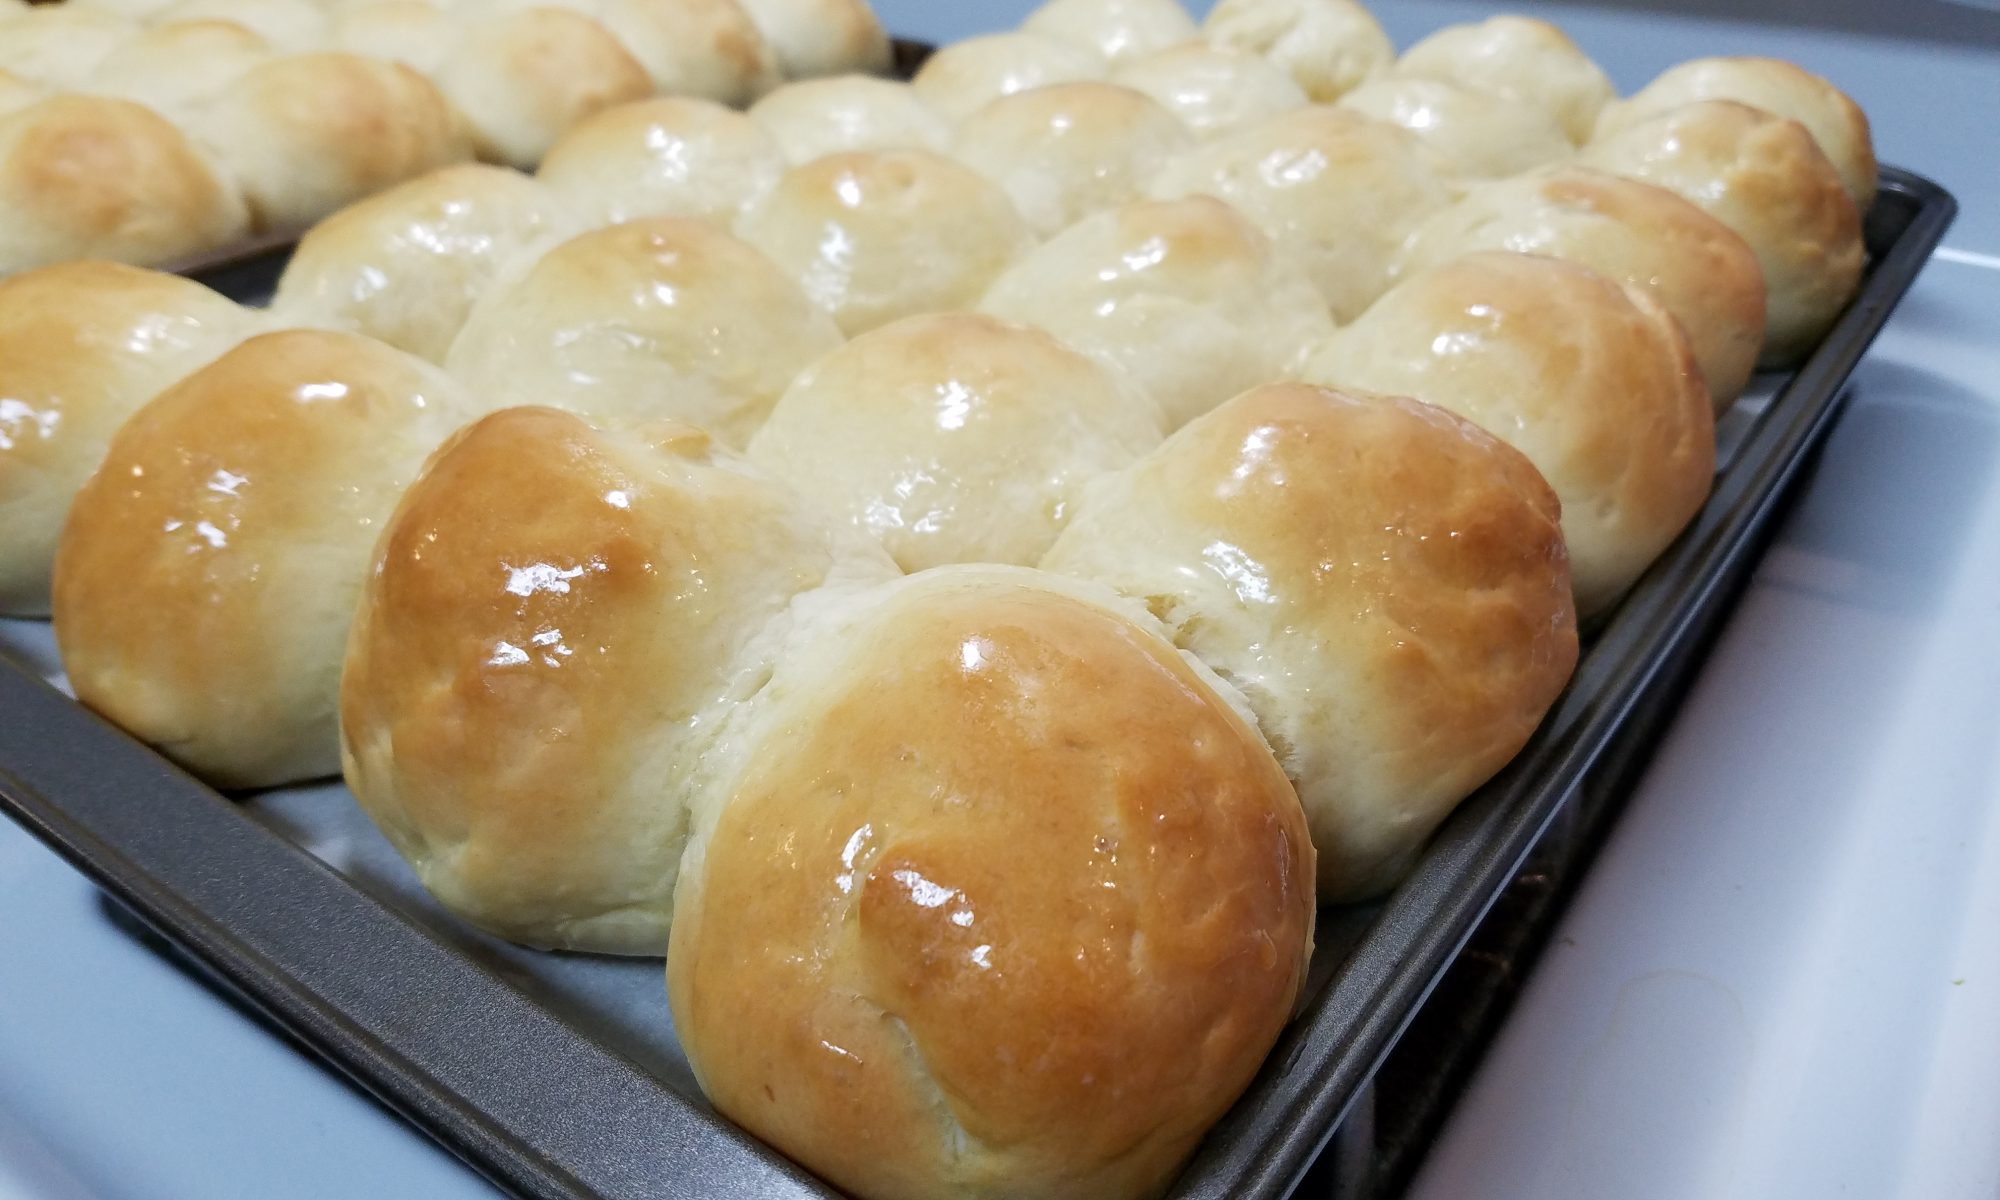
This is the best dinner roll recipe I have found yet. However, it takes a little practice and experimentation to really make rolls that everyone will want all the time…not just with dinner!
This recipe leaves a little room for interpretation on how the dough should come together. If you haven’t baked other types of bread, this recipe will help you start to understand that not all bread doughs are the same.
For example, I bake 2-4 loaves of bread every week. I put all the ingredients in my Kitchen-Aid mixer and just let it do its thing. While kneading with the dough hook, the dough eventually pulls away from the bowl and forms a kind of self-contained ball. I can handle it and it doesn’t stick to dry hands.
This dinner roll dough comes together in stages. Once you start kneading with the dough hook, it initially makes a sticky mess. You gradually at flour until the dough just starts to pull away from the bowl. However, it is still sticky. And that is what you want. A soft sticky dough. You’ll need a very light coating of butter on your hands to start working with it. Otherwise, your first few dough balls will be a little tacky looking.
So let’s get into the recipe and I’ll try to explain further in the directions below.
Best Homemade Dinner Rolls
2 cups warm Milk (110-120°F)
2 Tbsp Active Dry Yeast
¼ cup Sugar
2 tsp Kosher Salt
6 Tbsp Salted Butter (softened)
2 Large Eggs (beaten)
6 cups Flour (reserve ½ cup)
1 Tbsp Butter (melted)
1 Tbsp Butter (to grease bowl)
Preheat your oven to 375°F
Start by combining the warm milk, yeast, sugar, salt, butter, and eggs in your mixer with the Flex Edge Beater attachment. Mix well, making sure the yeast, sugar, and salt have a chance to dissolve.
Add 5½ cups of flour to the mixture and switch to the Dough Hook attachment. Start the mixer on the lowest speed and mix until the flour starts to incorporate. Increase the mixer speed to medium speed (I only go up to 2) and start adding the reserved ½ cup of flour gradually (about a tablespoon at a time). I turn the mixer off occasionally to scrape the hook and the bowl. Otherwise, the dough tends to creep up and over the hook. When adding the additional flour, let it fully incorporate before adding more. You want the dough to just start pulling aways from the sides. The dough should slightly sticky and soft.
Use the last tablespoon of your stick of butter to lightly grease a large bowl (the larger the better, I use a 4 qt.). Make sure to get a little of the butter on your hands. Transfer the dough to the bowl. It is a this point you’ll understand “slightly stick and soft”. The dough will want to stick to your hands, but if you keep them moving on the dough to make a nice round ball, the dough won’t stick and it will should feel very soft. Cover with a lid (butter that lid!) or a very light and dry linen cloth. I prefer the lid. Let the dough rise for 90 mins. The dough will rise rather aggressively. It will actually pop the lid off my bowl. When it does, I lightly punch it down and replace the lid to let it finish out the 90 mins.
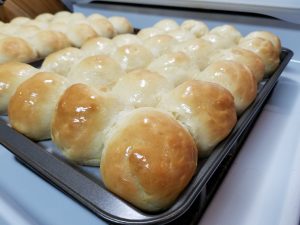
When the time is up, punch down the dough (get a little more butter on those hands) and start making 24 dough balls. Use a cookie sheet lined with parchment paper to set out four rows of six (or six rows of four). The balls should be close without touching. For more uniform rolls, I recommending using a kitchen scale and weighing out each balls to about 2.25-2.30 oz each.
Place rolls on the middle rack in your pre-heated oven and bake for 12-15 mins until the tops are golden brown.
Remove from the oven and brush the tops with melted butter. Serve immediately or let them cool (they will absorb the butter) for about 15 mins on the cookie sheet before transferring to a cooling rack. I highly recommend allowing them to fully cool on a cooling rack before sealing them in a bag. If you transfer them to a sealed bag too soon, they will sweat in the bag and get a little soggy.
I’m telling you now, when you nail this recipe, you (and your family and friends) will want you to make these rolls all the time!

 Steak Seasoning