CentOS 7 – Minimal to GUI

I’ve been working on tutorials for Chef and Maven and I’ve been using AWS EC2 instances.  The problem is, port 22 (SSH) is blocked at my work.  So I decided to create a local virtual machine and put CentOS 7 on it to mimic what I was doing in AWS.  I’ve been looking for a reason to get more hands-on with Linux anyway, so why not.

I am using CentOS 7 because it is a clone of Red Hat and I was using the Red Hat instance in AWS.

My internet connection is a little on the slow side at work.  I decided to download the Minimal ISO for CentOS 7.  After installing it on a virtual machine, I logged in and went down an alternate path.

I started by executing some commands that I remember from studying for the Linux+ certification (which I’ve only scratch the surface of), such as ‘yum update’…And that’s when I realized I don’t have an internet connection.

I first checked my VirtualBox settings and there was a network connection attached to the VM.  I attempted to run ifconfig and I learned that it is not part of the minimal version of CentOS 7.  A quick Google search revealed the command ip addr, but that still doesn’t setup my network connection.

So back to Google and I found this handy article.  Basically,

  • Run nmcli d to get a list of network interfaces. 
  • Run nmtui, edit the appropriate network interface
  • Make sure IPv4 is set to ‘Automatic’ and tick ‘Automatically connect’
  • Exit nmtui
  • Run service network restart

Now with my Ethernet adapter connected, I could do some damage.  I executed yum update again and this time it worked!  

Then I decided I wanted to install a GUI just to do it.

yum groupinstall "GNOME Desktop" "Graphical Administration Tools"

After a reboot, I was back at the login prompt.  No GUI.  I was getting ready to log in and remembered from my studying that after installing GUI, you have tell Linux that is what you want use when you boot up the machine.  You do that by specifying the runlevel (or target) you want to use.  I want to use runlevel5, which is runlevel3 (Multi-User Mode with Networking) with a display manager (X11).  This command will set the runlevel (target) for us:

ln -sf /lib/systemd/system/runlevel.target /etc/systemd/system/default.target

After that, reboot and the system will come up in graphical mode.  

Now, I’m sure there are other things missing due to this initially being a minimal installation.  But I’m going to try to setup either something for Chef or Maven and find out what else I have to do to get this working.  

It’s been a while…again

Once again, it’s been a while since the last time it’s been a while.

A lot has happened since the last time I tried to start blogging again.  I have (again) realized that I want to capture the things that I have learned so I can reference them later.  That, and of course share with others that may be interested.

Here recently, however, I have also been thinking about how I can use this site as a way to document some of the things my kids and I do as well.  I mean, how cool/embarrassing would it be to look back on things we’ve posted here 1…2…5…10+ years later?

So a few things I have rattling around in my head right now…

Cooking and recipes
Model Rockets with my son
Getting a GoPro and strapping it to the Model Rockets
Getting a nice Drone and going exploring

Those are just a few idea.  But the main thing is getting back on here to blog about it.  We’ll see what happens this time around, but I think I have a better motivator.

Linux From Scratch – Video Walkthrough by SudoTech

Either the LinuxFromScratch book is making some aggressive assumptions about my basic Linux knowledge, or my Linux abilities aren’t quite as good as I thought.  Unfortunately, its probably the latter.

Long story short, I came across this video series on YouTube put together by user SudoTech.

He walks through the LFS  7.10 book pretty much step-by-step.  The videos also fill in some of the assumption gaps made by the book.  In my case, reminded me that “oh yeah, I knew that.”

the videos are a little dated, but still applicable.  As stated, SudoTech is using version 7.10 of the LFS book in his videos.  I’m following along with version 8.1.  The only differences so far are package versions and a few additional packages.

Pretty good set of videos that have helped me fill the knowledge gaps in my basic Linux while creating my own version of Linux.

Homemade Dinner Rolls

This is the best dinner roll recipe I have found yet.  However, it takes a little practice and experimentation to really make rolls that everyone will want all the time…not just with dinner!

This recipe leaves a little room for interpretation on how the dough should come together.  If you haven’t baked other types of bread, this recipe will help you start to understand that not all bread doughs are the same.

For example, I bake 2-4 loaves of bread every week.  I put all the ingredients in my Kitchen-Aid mixer and just let it do its thing.  While kneading with the dough hook, the dough eventually pulls away from the bowl and forms a kind of self-contained ball.  I can handle it and it doesn’t stick to dry hands.

This dinner roll dough comes together in stages.  Once you start kneading with the dough hook, it initially makes a sticky mess.  You gradually at flour until the dough just starts to pull away from the bowl.  However, it is still sticky.  And that is what you want.  A soft sticky dough.  You’ll need a very light coating of butter on your hands to start working with it.  Otherwise, your first few dough balls will be a little tacky looking.

So let’s get into the recipe and I’ll try to explain further in the directions below.

Best Homemade Dinner Rolls

2 cups warm Milk (110-120°F)
2 Tbsp Active Dry Yeast
¼ cup Sugar
2 tsp Kosher Salt
6 Tbsp Salted Butter (softened)
2 Large Eggs (beaten)
6 cups Flour (reserve ½ cup)
1 Tbsp Butter (melted)
1 Tbsp Butter (to grease bowl)

Preheat your oven to 375°F

Start by combining the warm milk, yeast, sugar, salt, butter, and eggs in your mixer with the Flex Edge Beater attachment.  Mix well, making sure the yeast, sugar, and salt have a chance to dissolve.

Add 5½ cups of flour to the mixture and switch to the Dough Hook attachment.  Start the mixer on the lowest speed and mix until the flour starts to incorporate. Increase the mixer speed to medium speed (I only go up to 2) and start adding the reserved ½ cup of flour gradually (about a tablespoon at a time).  I turn the mixer off occasionally to scrape the hook and the bowl.  Otherwise, the dough tends to creep up and over the hook.  When adding the additional flour, let it fully incorporate before adding more.  You want the dough to just start pulling aways from the sides.  The dough should slightly sticky and soft.

Use the last tablespoon of your stick of butter to lightly grease a large bowl (the larger the better, I use a 4 qt.).  Make sure to get a little of the butter on your hands.  Transfer the dough to the bowl.  It is a this point you’ll understand “slightly stick and soft”.  The dough will want to stick to your hands, but if you keep them moving on the dough to make a nice round ball, the dough won’t stick and it will should feel very soft.  Cover with a lid (butter that lid!) or a very light and dry linen cloth.  I prefer the lid.  Let the dough rise for 90 mins.  The dough will rise rather aggressively.  It will actually pop the lid off my bowl.  When it does, I lightly punch it down and replace the lid to let it finish out the 90 mins.

When the time is up, punch down the dough (get a little more butter on those hands) and start making 24 dough balls.  Use a cookie sheet lined with parchment paper to set out four rows of six (or six rows of four).  The balls should be close without touching.  For more uniform rolls, I recommending using a kitchen scale and weighing out each balls to about 2.25-2.30 oz each.

Place rolls on the middle rack in your pre-heated oven and bake for 12-15 mins until the tops are golden brown.

Remove from the oven and brush the tops with melted butter.  Serve immediately or let them cool (they will absorb the butter) for about 15 mins on the cookie sheet before transferring to a cooling rack.  I highly recommend allowing them to fully cool on a cooling rack before sealing them in a bag.  If you transfer them to a sealed bag too soon, they will sweat in the bag and get a little soggy.

I’m telling you now, when you nail this recipe, you (and your family and friends) will want you to make these rolls all the time!

A typical Friday night of cooking

I usually cook on the weekends.  But sometimes it begins on Friday night.
This Friday was one of those nights that the menu got out of hand.

It all started with wanting to make some hummus.  The following events ensued…

I had bought apples at the store this afternoon because I wanted to make apple cider.  Figured that while the cider was cooking down, I could make the hummus.

Then I thought how Thanksgiving is coming up and how I should practice making my yeast rolls…so I thought ‘while I’m waiting for the dough to rise, I can make the hummus’.

Then I figured I might as well fire up the grill and pull out a few steaks…and some chicken…and make a few hamburgers.  You know…while I’m waiting on that dough and the cider.  Then I can do that hummus, too.

So I took the steaks, chicken, and hamburger out.  I’d like to make sure it is clear, this is the first thing I’ve done.  Up to this point, it was only thinking and planning.

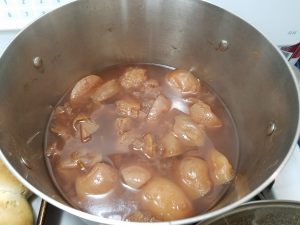
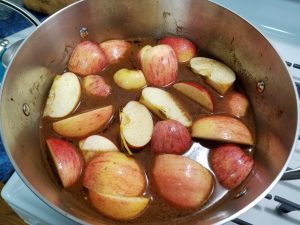
While the meat thawed, I cut the apples up and threw them in the pot with some water, sugar,  cinnamon, and allspice.  That’s got 3 hours of cook time ahead of it.


Then I started making the dough for the rolls (no pic).  That’s got 90 mins of rise time before I make the dough ball.

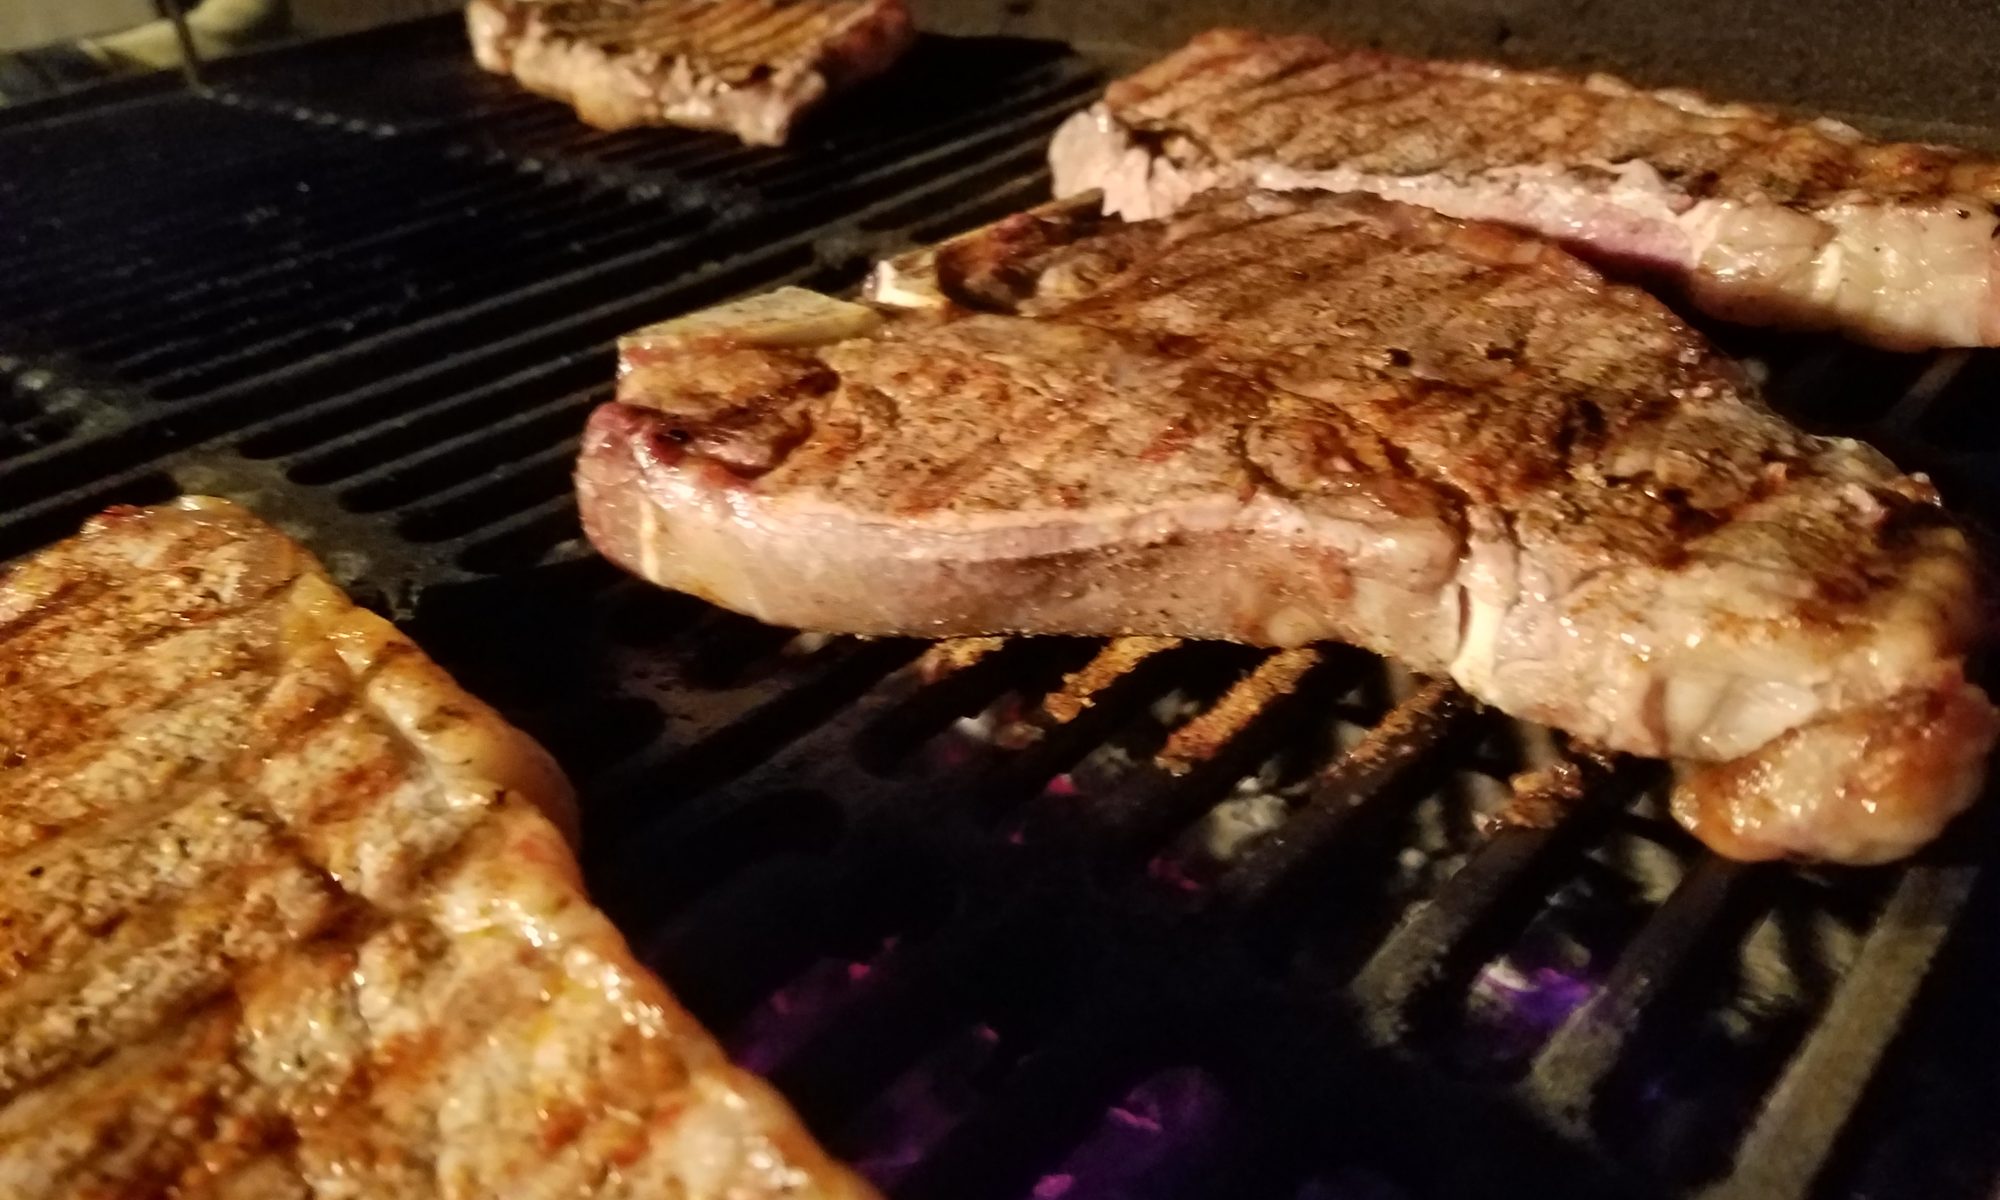
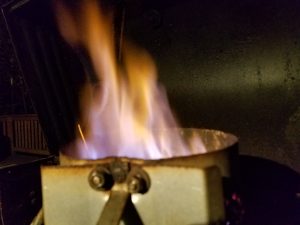
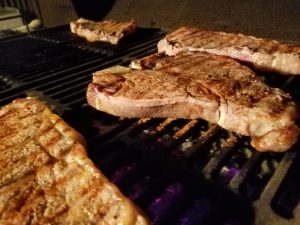
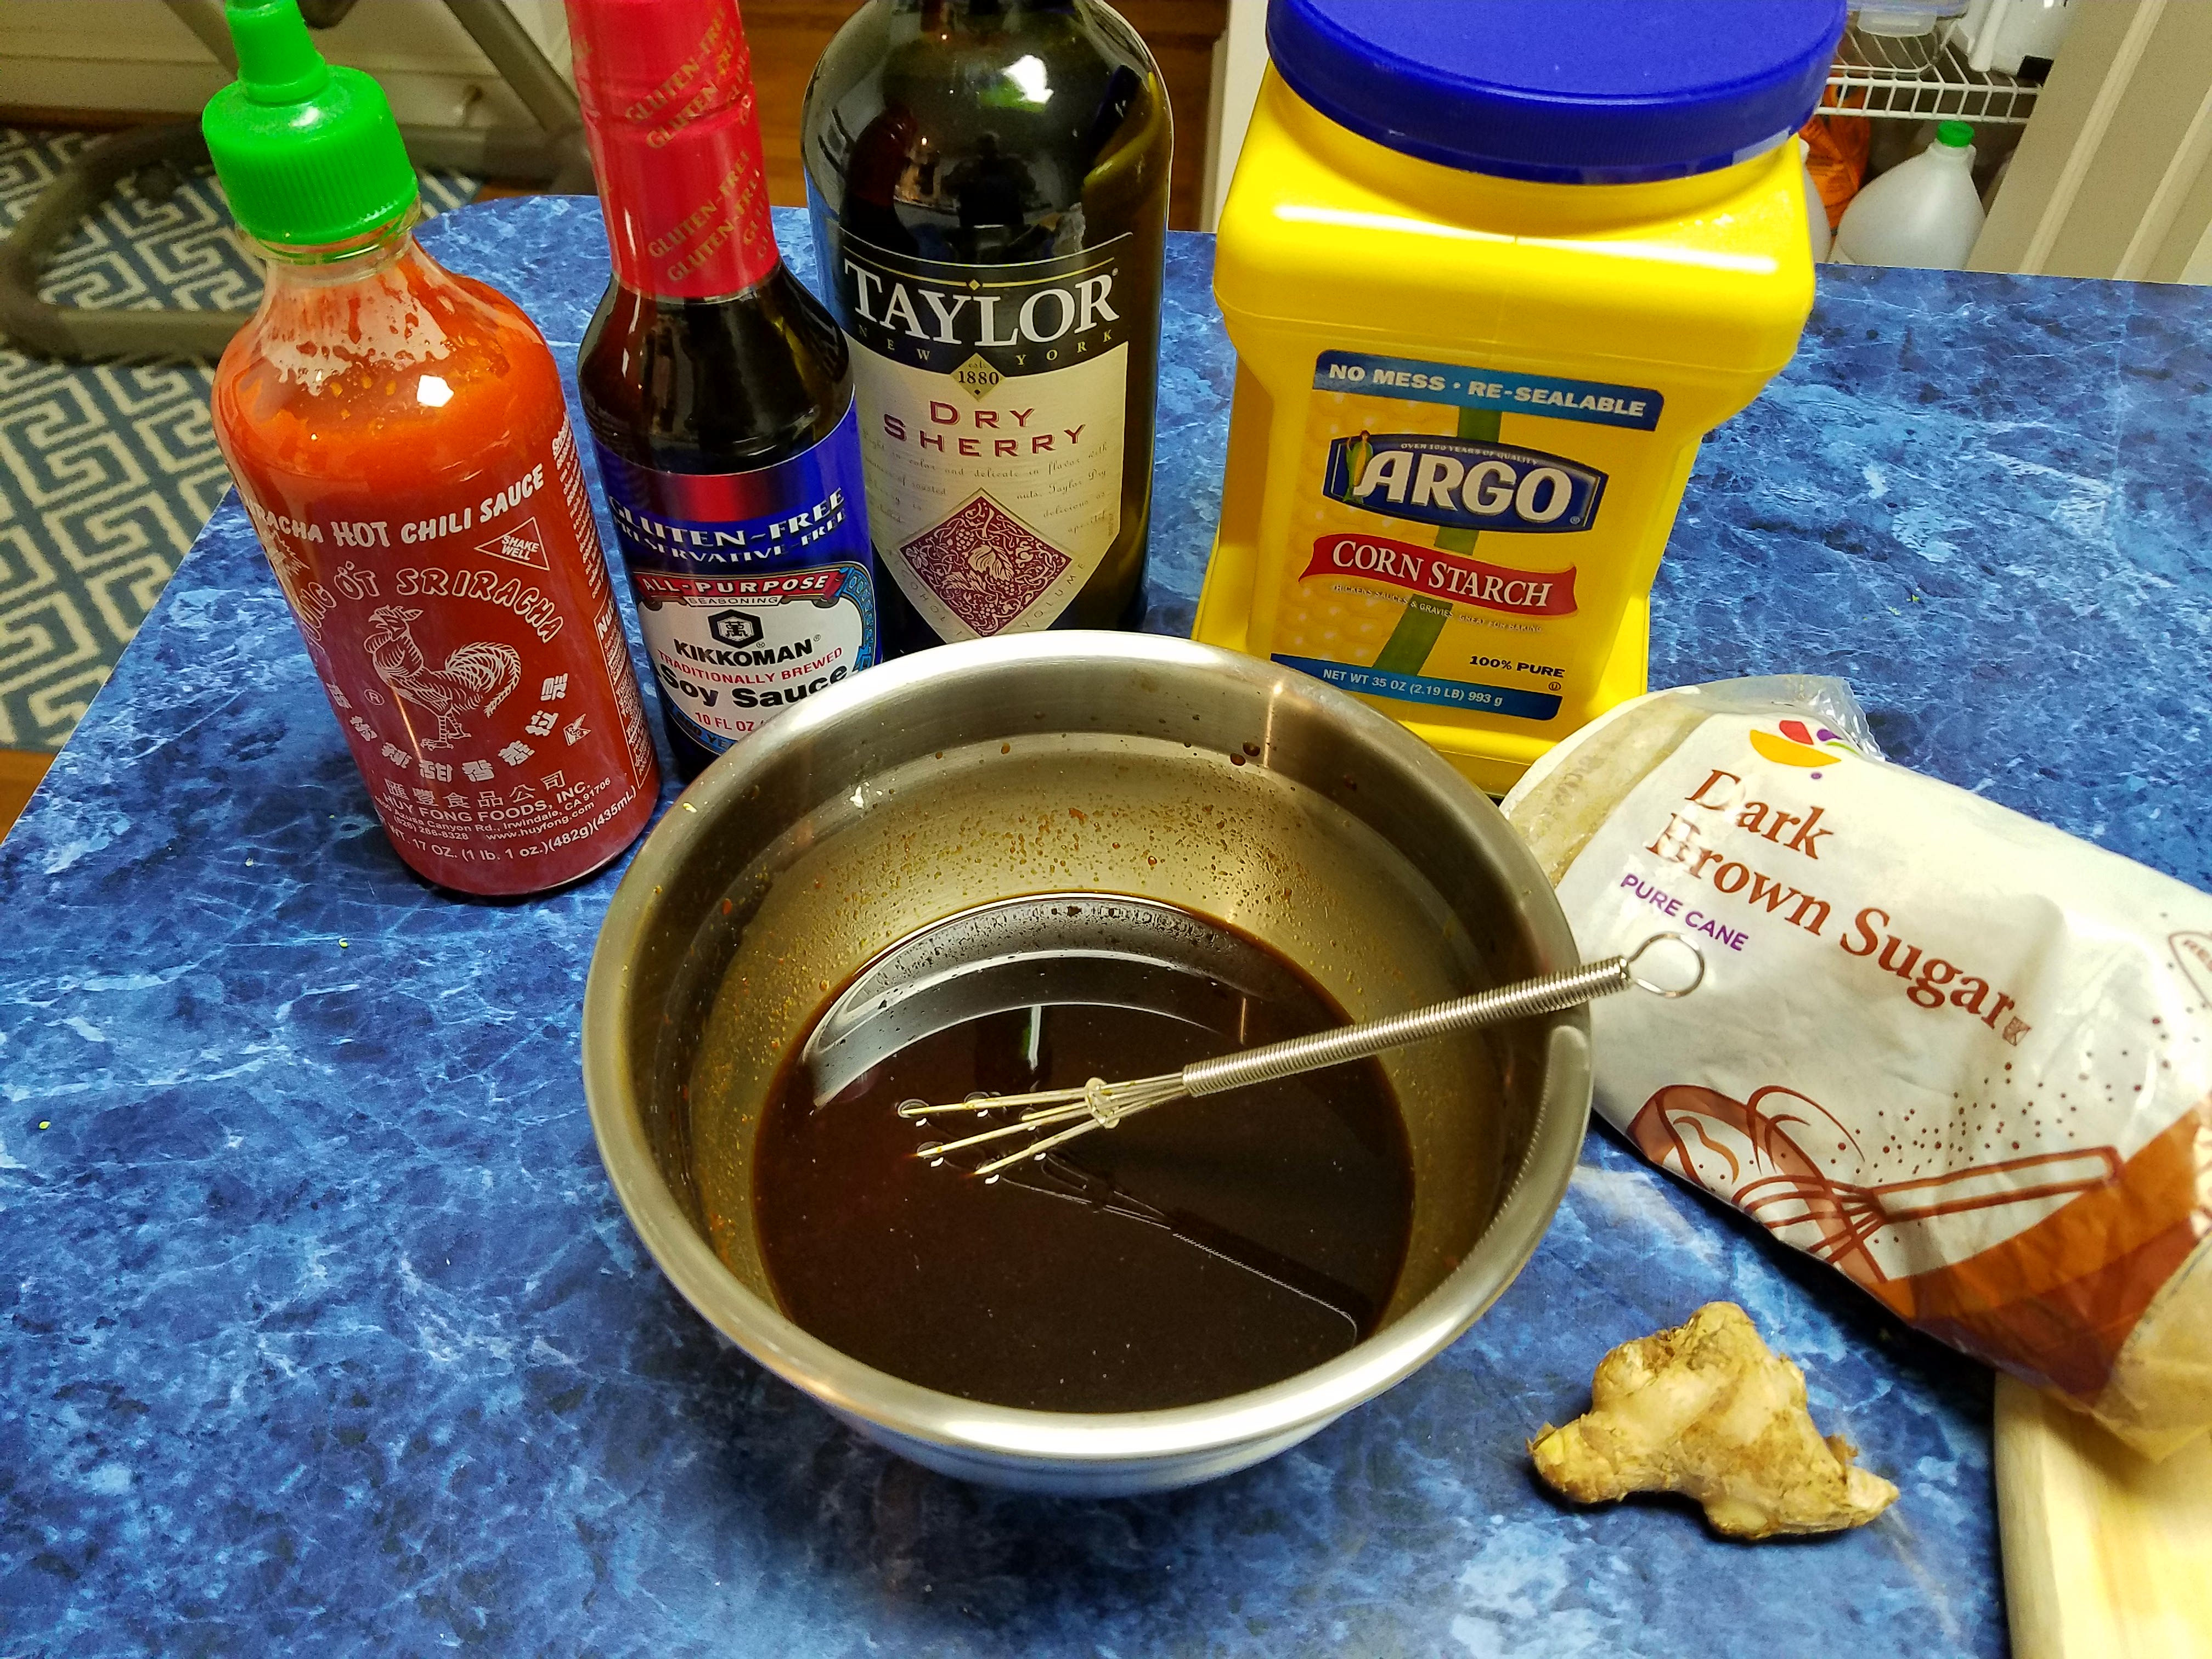
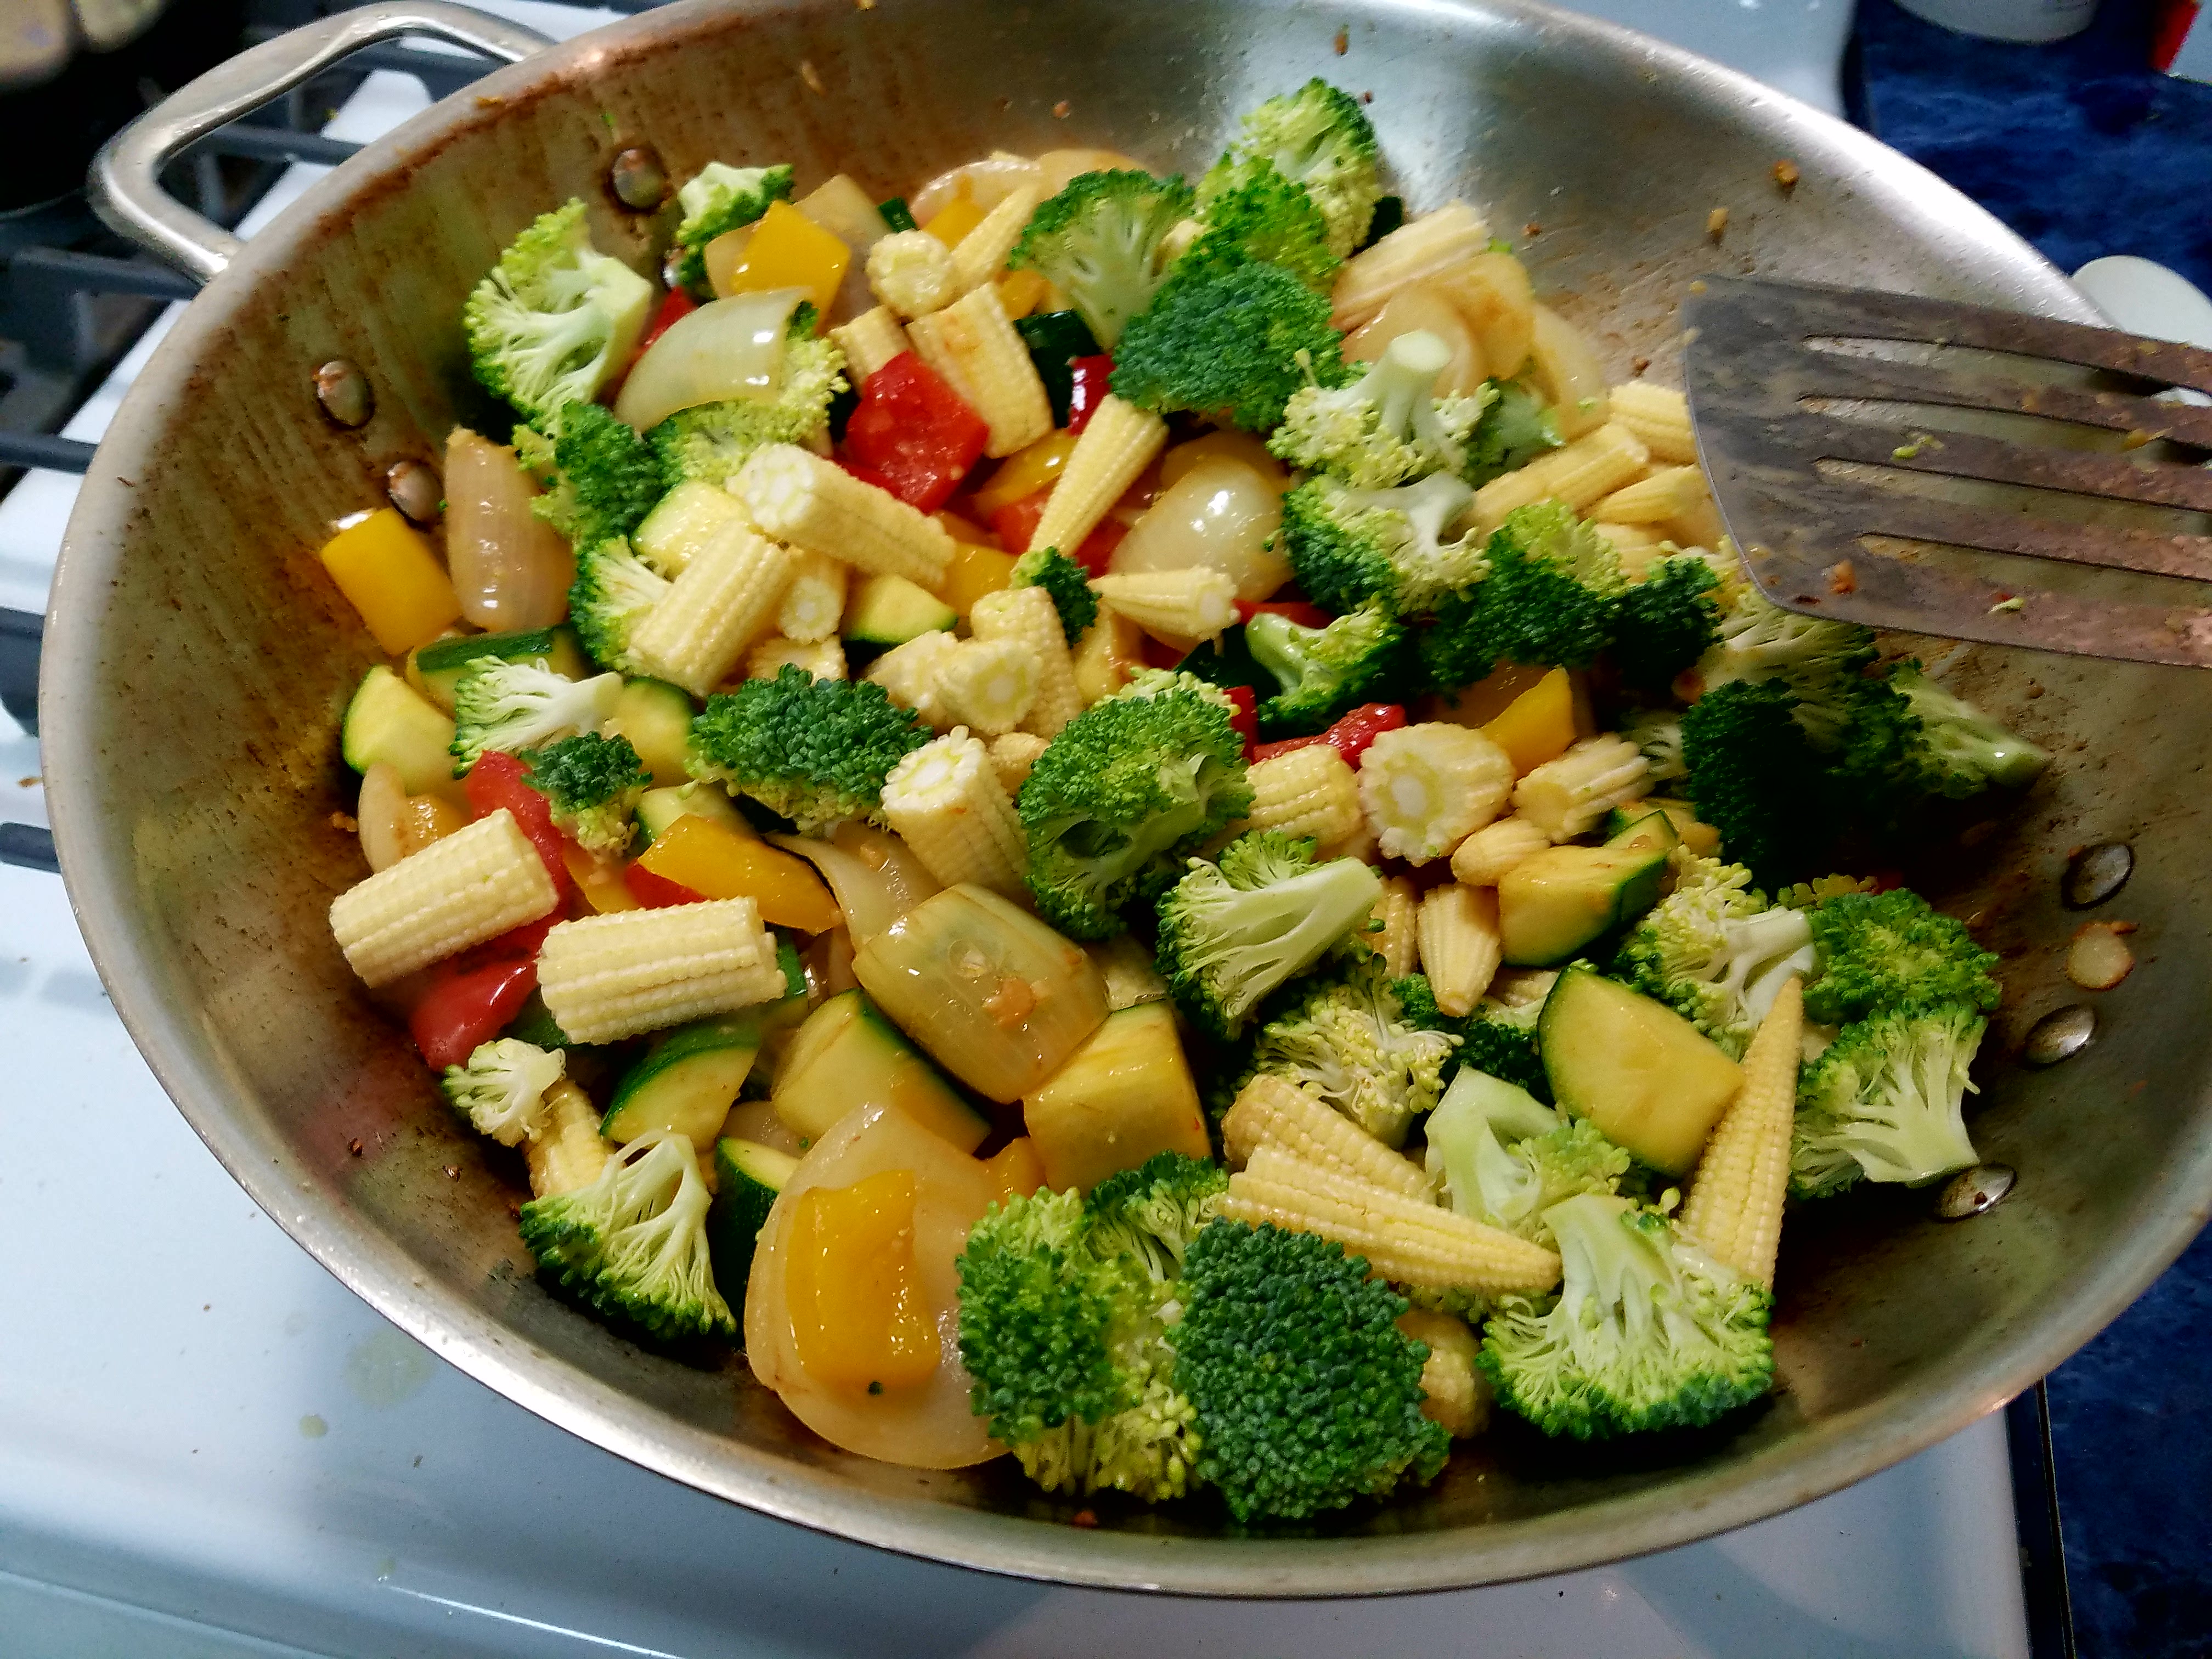
Next, I got the grill started.  This is when I realized that I wanted to make some veggies to go with all this meat and bread.  So I prepped some zucchini, red onion, and bell peppers (orange, red, and yellow) and I made my stir-fry brown sauce (which has to sit out for a bit…recipe HERE).

Quick check on the dough, the cider, and the grill…

Got the grill ready and threw on the hamburgers and chicken first, but not before I seasoned the steaks (my steak seasoning HERE).


Eventually, chicken and hamburgers come off the grill…


And the steaks go on…
4 NY Strips and a T-Bone!


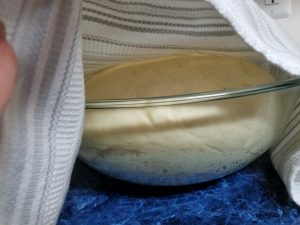
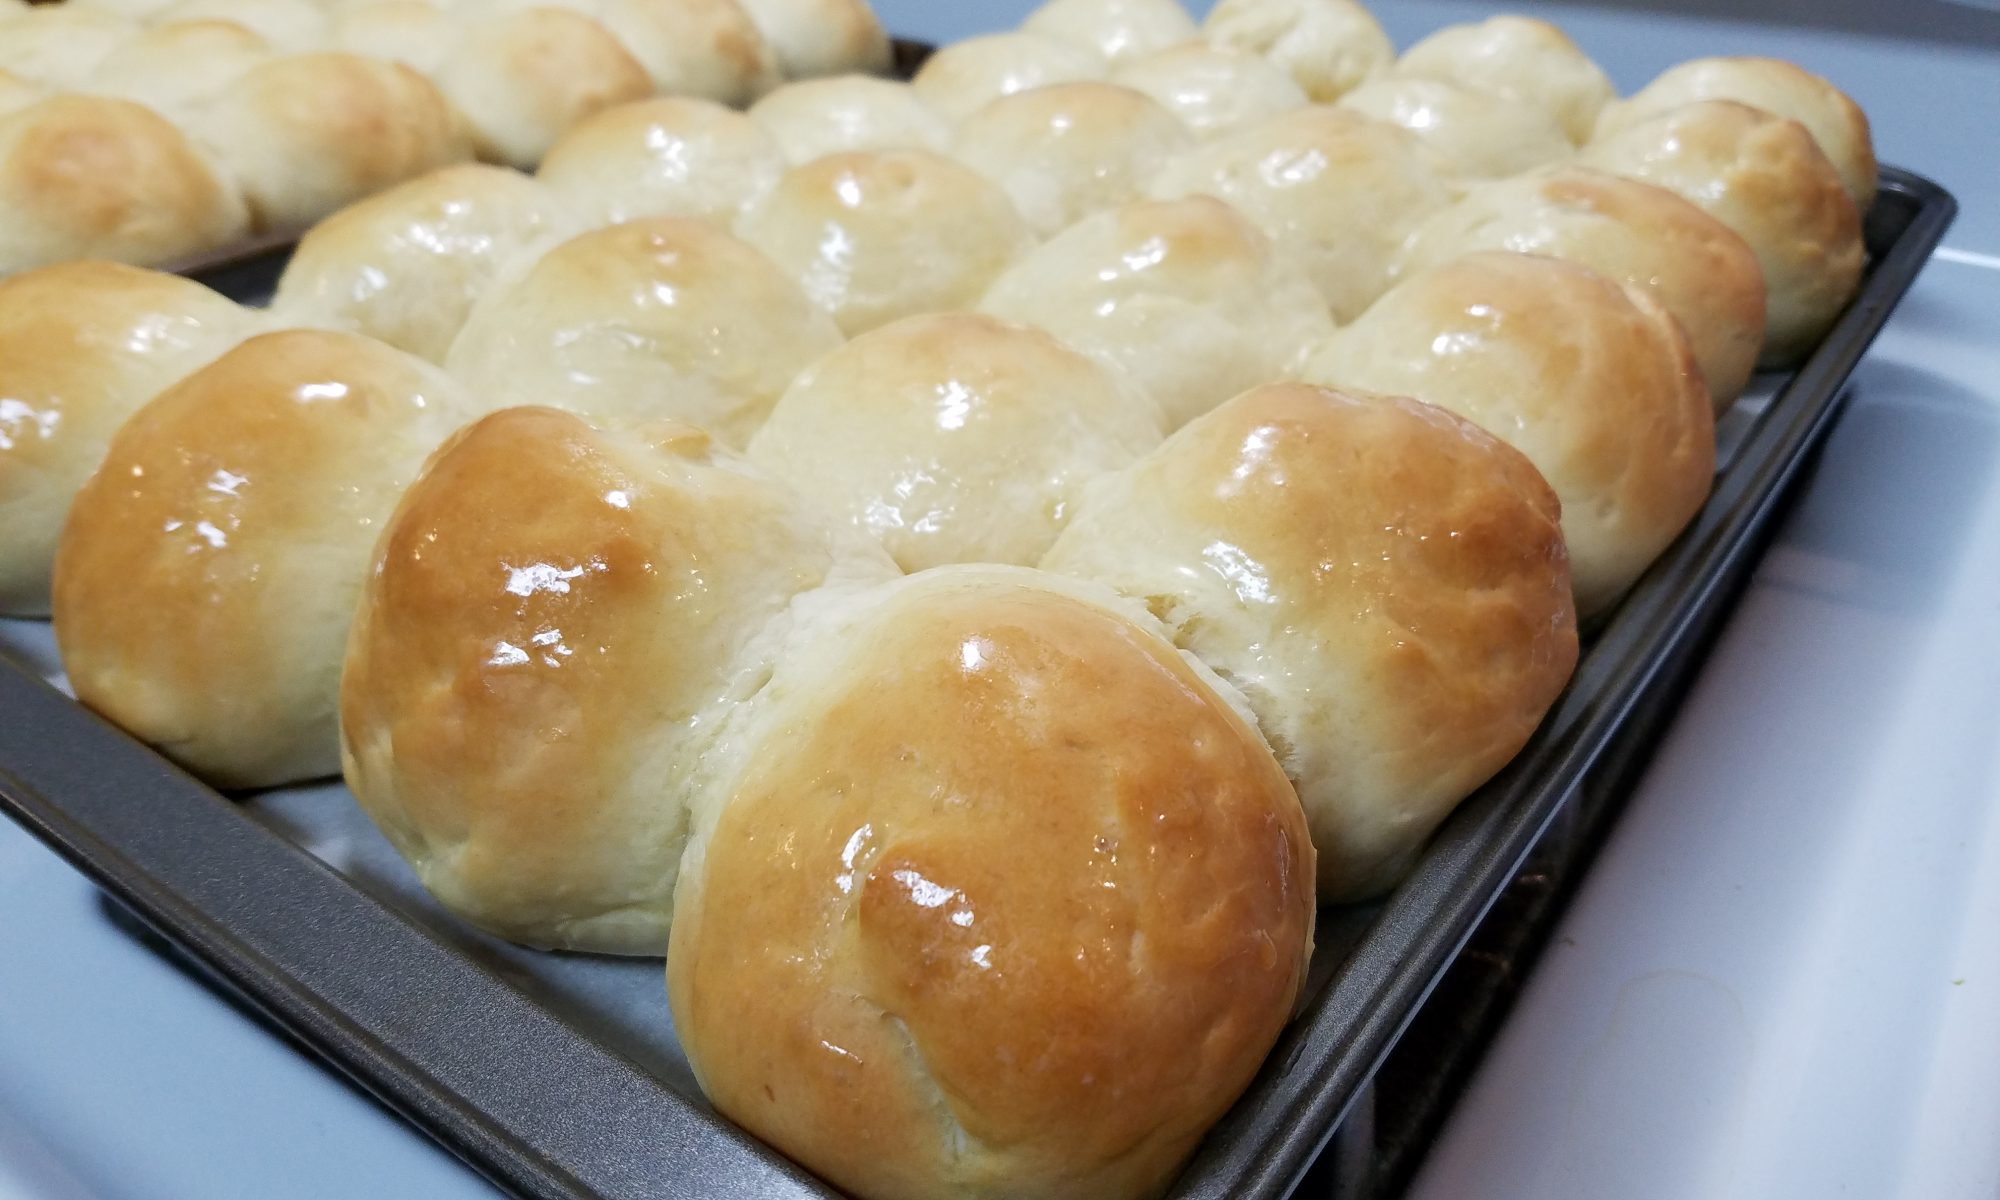
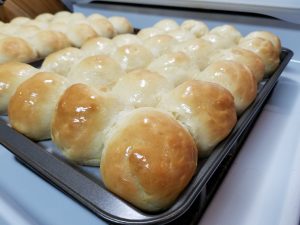
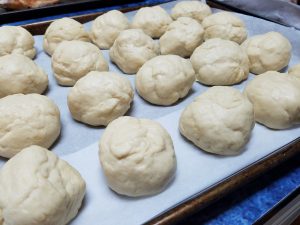
Somewhere in there, I made the dough balls…not very pretty though.


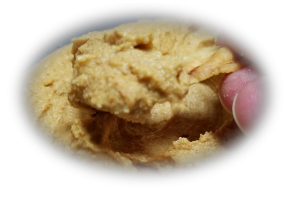
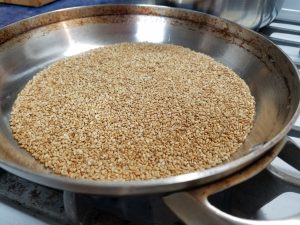
Then toasted the sesame seeds to make Tahini (sesame paste) for the hummus.


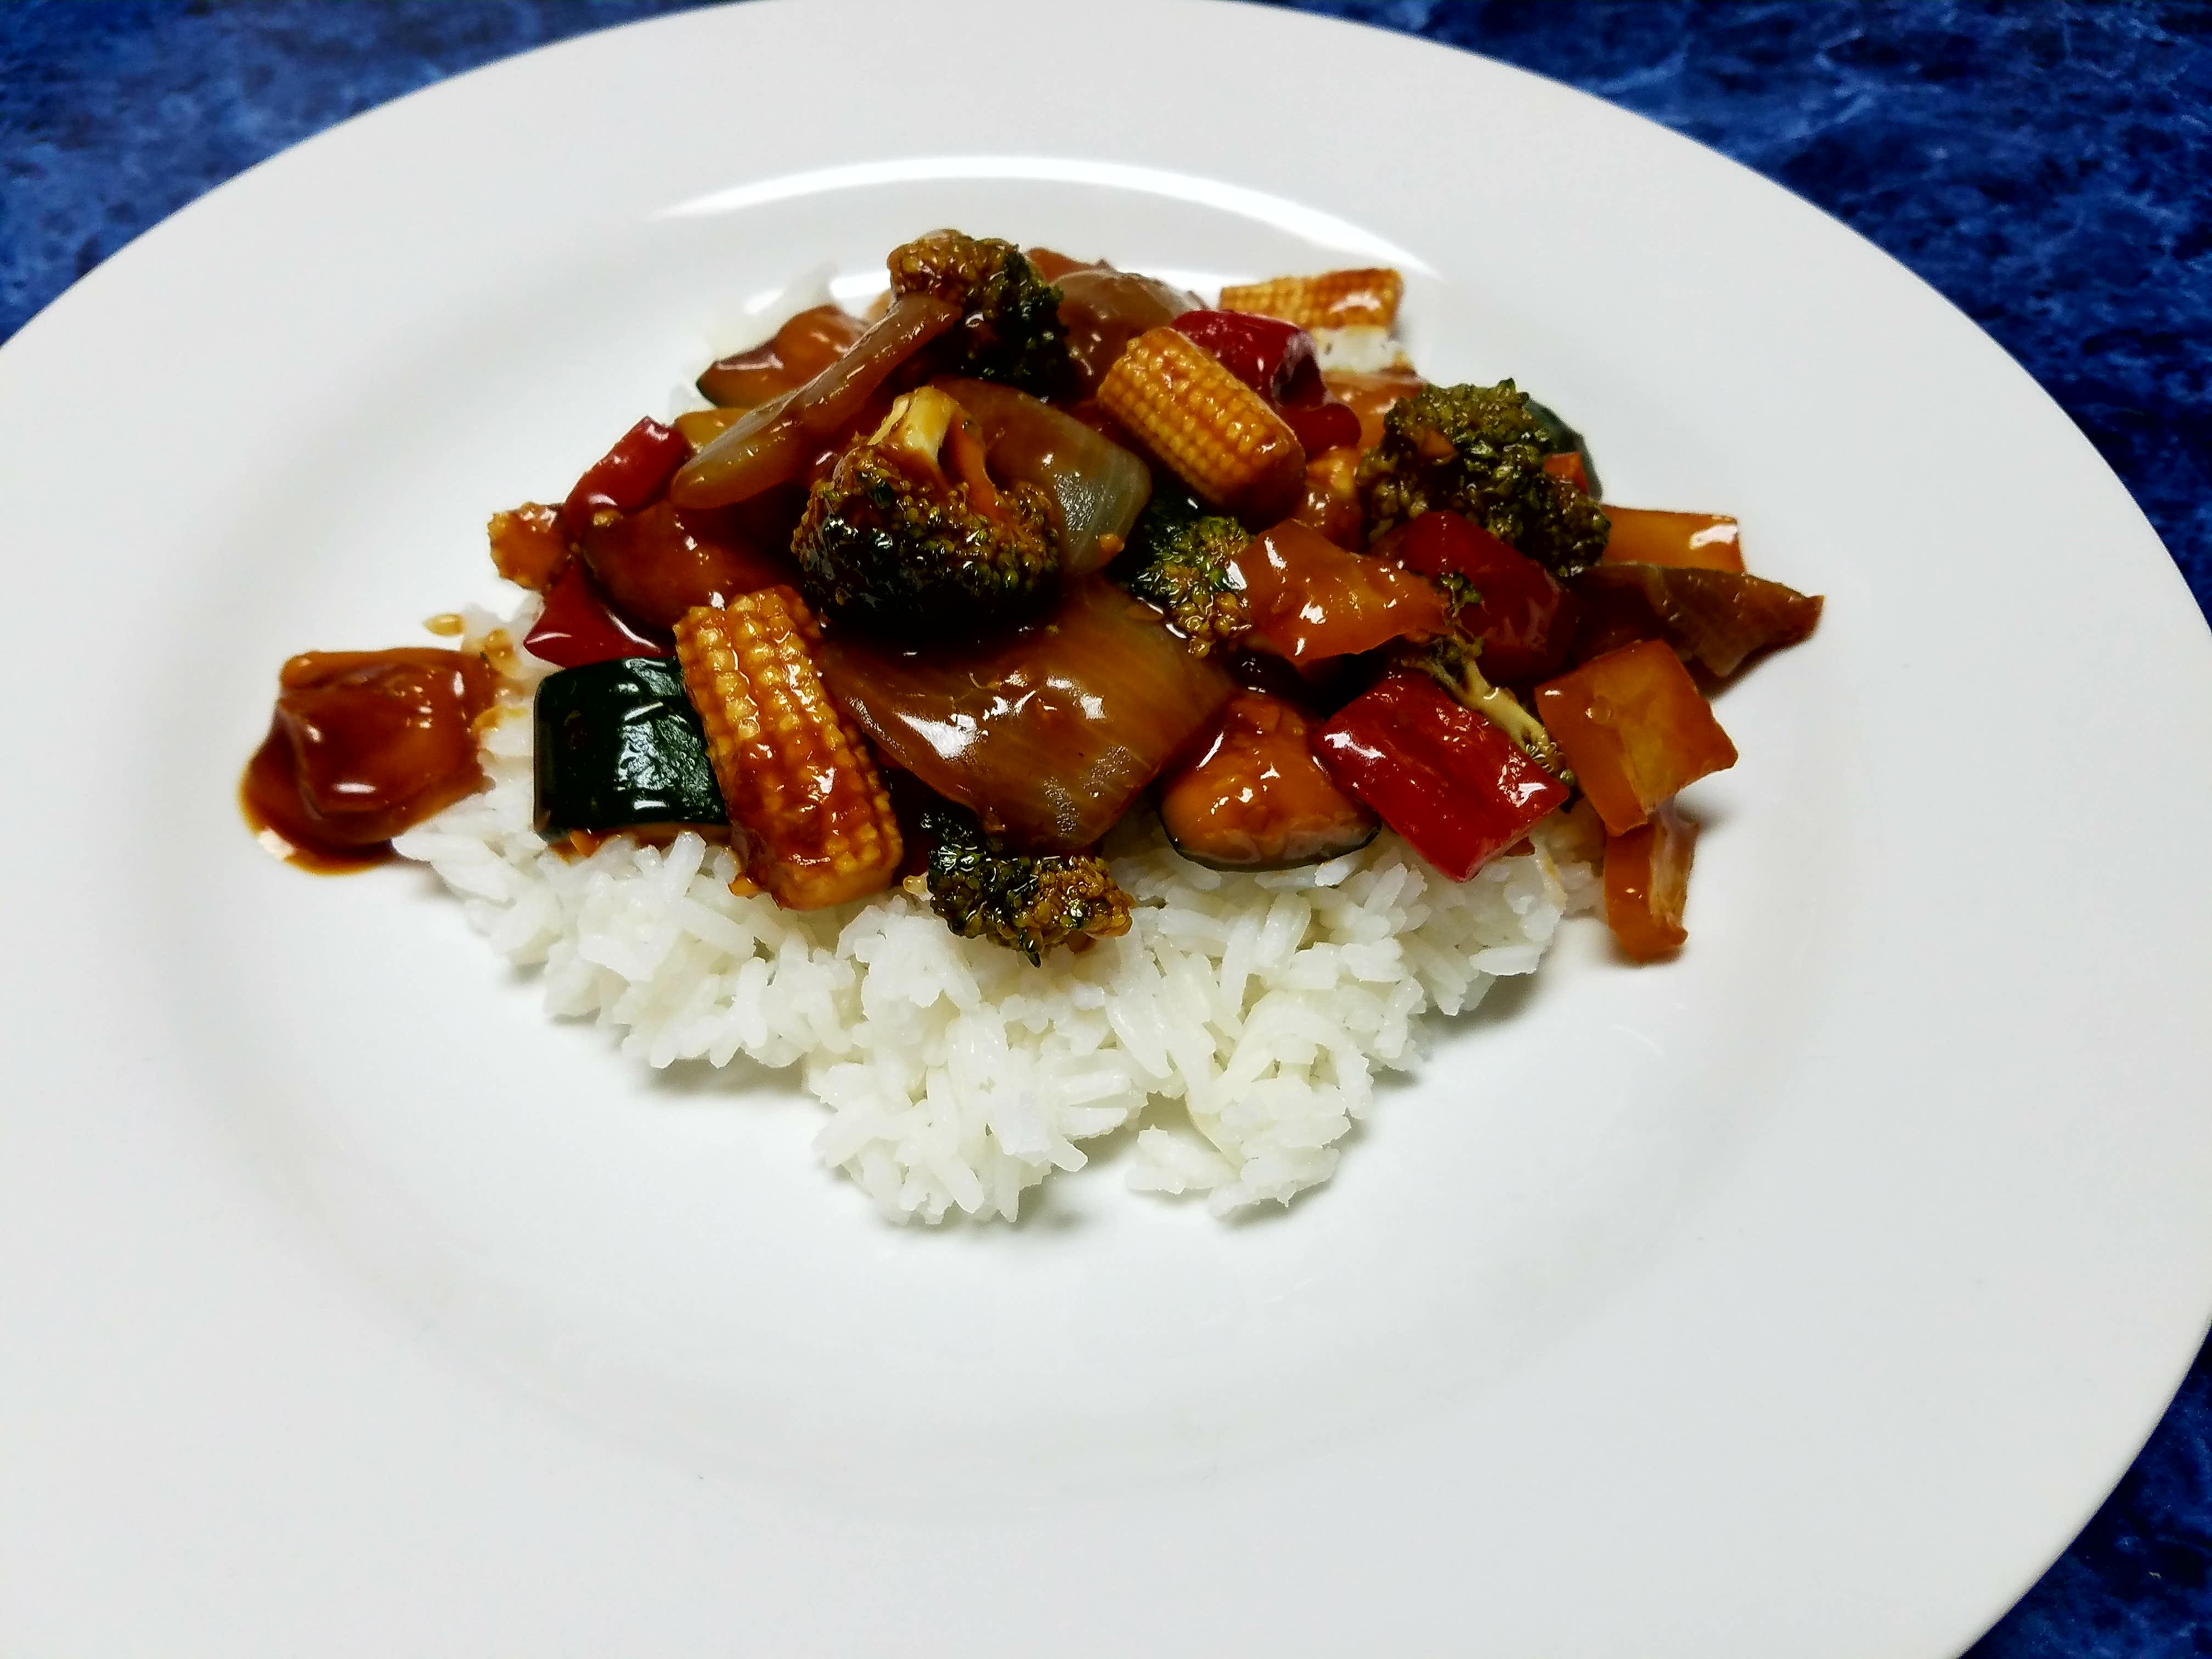
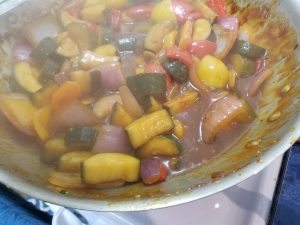
Made the stir-fry veggies while toasting the seeds.
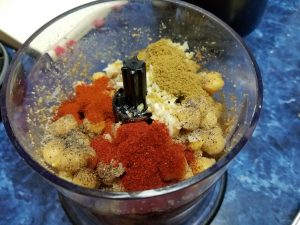
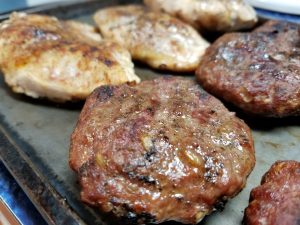
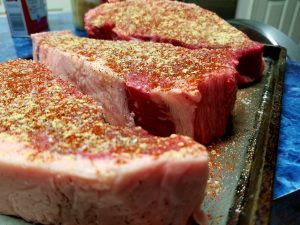


Then the apple cider and the yeast rolls finished up at the same time

Oh yeah, then got around to making the hummus…

Yes, this is a typical night of cooking for me.  So, needless to say, I’m able to multitask when the heat is (literally) on!

Enjoy and keep an eye out for my recipes and more food here on Not2Cre8ive!

Linux From Scratch


Source: Welcome to Linux From Scratch!

While searching for tutorials for brushing up on my Linux skills, I stumbled upon this site.  LinuxFromScratch.org is a site that publishes a (pretty much) step-by-step guide for creating your own version of Linux.

Why would someone want to create their own version of Linux from scratch?  Well, the site does a pretty good job of answering that.
From the site:

Why would I want an LFS system?

Many wonder why they should go through the hassle of building a Linux system from scratch when they could just download an existing Linux distribution. However, there are several benefits of building LFS. Consider the following:

LFS teaches people how a Linux system works internally
Building LFS teaches you about all that makes Linux tick, how things work together and depend on each other. And most importantly, how to customize it to your own tastes and needs.

Building LFS produces a very compact Linux system
When you install a regular distribution, you often end up installing a lot of programs that you would probably never use. They’re just sitting there taking up (precious) disk space. It’s not hard to get an LFS system installed under 100 MB. Does that still sound like a lot? A few of us have been working on creating a very small embedded LFS system. We installed a system that was just enough to run the Apache web server; total disk space usage was approximately 8 MB. With further stripping, that can be brought down to 5 MB or less. Try that with a regular distribution.

LFS is extremely flexible
Building LFS could be compared to a finished house. LFS will give you the skeleton of a house, but it’s up to you to install plumbing, electrical outlets, kitchen, bath, wallpaper, etc. You have the ability to turn it into whatever type of system you need it to be, customized completely for you.

LFS offers you added security
You will compile the entire system from source, thus allowing you to audit everything, if you wish to do so, and apply all the security patches you want or need to apply. You don’t have to wait for someone else to provide a new binary package that (hopefully) fixes a security hole. Often, you never truly know whether a security hole is fixed or not unless you do it yourself.


I am currently on my second try of creating an LFS system.  The first time through, I initiated a ‘make’ command instead of a ‘mkdir’ and the system ran the make…but I had no idea what it created, nor could I figure out how to recover from it.  So, I reformatted the partition and scrolled back to the beginning of the guide.

While it is a lengthy process, I would recommend trying this yourself if you really want to learn about Linux.  If you actually read the guide and look up the things you don’t know, you can learn a lot.  Oh, and the guide makes some assumptions on your basic knowledge of Linux.  So you have to come to the table with a little up front knowledge or do a little homework on your end just to get going.  But I don’t view that as a deterrent, just more incentive to really learn about Linux!


RegEx101: Online regex tester and debugger

Regex101 allows you to create, debug, test and have your expressions explained for PHP, PCRE, Python, Golang and JavaScript. The website also features a community where you can share useful expressions.

Source: Online regex tester and debugger: PHP, PCRE, Python, Golang and JavaScript

Found this handy tool a while back when I was trying to create a .runsettings file for defining Code Coverage analysis of builds.

In TFS2015, a .runsettings is used to define what is included/excluded in the code coverage analysis.  You can specify assembly file paths, names of functions, attributes on code elements, etc.  The way you specify those things is by using regular expressions.

Until that day, I had only heard about regular expressions.
I had no idea how to use them…nor how to create one properly.

Then I find RegEx101.  This site not only helped me to create the regular expressions I needed, but explained them along the way.  On top of that, I was able to create test cases for my expressions right on the same page.  So as I wrote a more complex expression, I could test it often and make sure I wasn’t regressing while adding complexity.

Great tool with lots of great information to quickly get you up to speed on creating regular expressions.

Getting the first food post up here…

I love cooking delicious food for my family and friends.  Most of all, I like to know what is in my food.  So the majority of what I make is from scratch.  I make my own bread, pasta, BBQ sauce…I’ve even made my own marshmallows!  All from scratch!

I have yet to post any food pics…so I’ll start with two things I do pretty often.

Fresh Bread and Pizza!

There will be more soon, but I had to start somewhere with the food!

Stir-Fry Brown Sauce

I found this recipe online somewhere and modified it with real dry sherry (not “cooking sherry” with its preservatives) and fresh ginger (why wouldn’t you?) .

It is delicious on a vegetable stir fry over a fluffy bed of Jasmine or Basmati rice.

Stir-Fry Brown Sauce

Vegetable Stir-Fry with Brown Sauce

  • 1/2 cup Soy Sauce
  • 2 Tbsp Dry Sherry
  • 2 Tbsp Brown Sugar, packed
  • 2 Tbsp Cornstarch
  • 2 Tbsp Sriracha
  • 1-2 Tbsp Fresh Ginger, minced

Whisk together in a medium bowl and let it sit uncovered while prepping and cooking.

Assuming you are making vegetable stir-fry, right when your veggies start to soften, add the sauce and reduce the heat a bit (assuming you are cooking on high, reduce to med/med-hi).  Stir often.  Cook until the sauce starts to darken.

As stated above, put this over some fragrant Jasmine or Basmati rice and enjoy!

Here are a few reference pics as well.

My Steak Seasoning Recipe

I have said in the past that the only thing you should ever put on a steak is heat.

However, I am a hypocrite.

One thing I’m firm on…if you ever put ketchup on a steak that I cook…that will be the last one you will ever get from me!

With that said, here is my steak seasoning recipe that I think really complements a nice cut of meat.

Steak Seasoning

  • Kosher Salt
  • Ground Black Pepper
  • Paprika
  • Ground Ginger
  • Granulated Garlic
  • Cayenne Pepper

The list is ordered from greatest to least amount of each spice (more salt than black pepper, more black pepper than paprika, etc).  I usually do both side of the meat (except for the cayenne pepper).  You don’t need much of the combo.  A little goes a long way.  As for the Cayenne Pepper, there is just enough on there to say it is there.

The really gives a nice depth of flavor to a decent cut of meat (i.e. NY strip).